Cleaning emulsion walls is an essential part of maintaining the beauty of your home. Whether you need to remove stains or simply give your walls a good scrub, here are some easy tips and tricks to help you know how to clean emulsion walls effectively.
When it comes to emulsion wall cleaning, there are a few key things to keep in mind. Firstly, always start by dusting off any excess dirt. You can use a cloth-covered broom or mop for this task. This will ensure that you’re working with a clean surface before applying any cleaning solution.
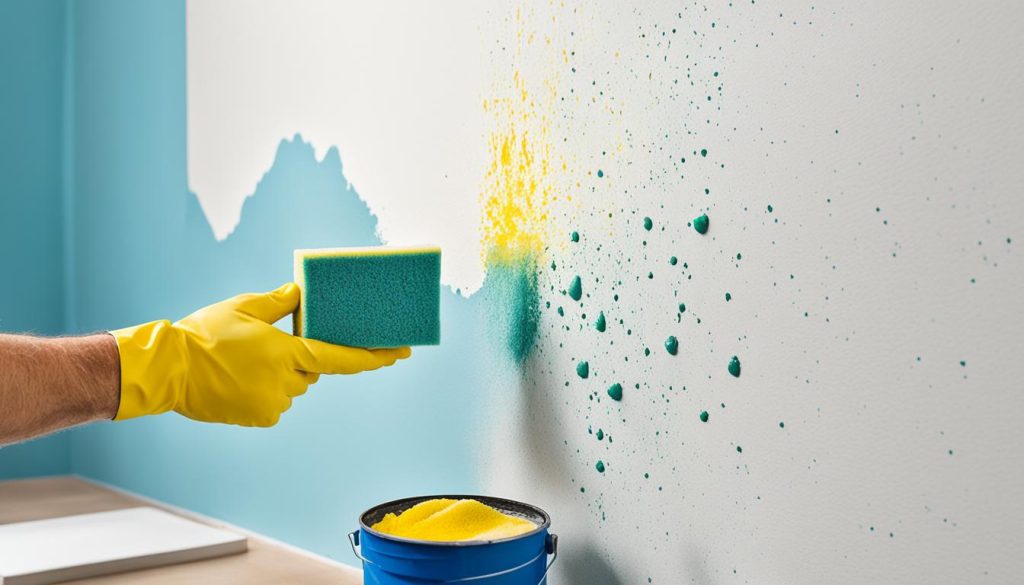
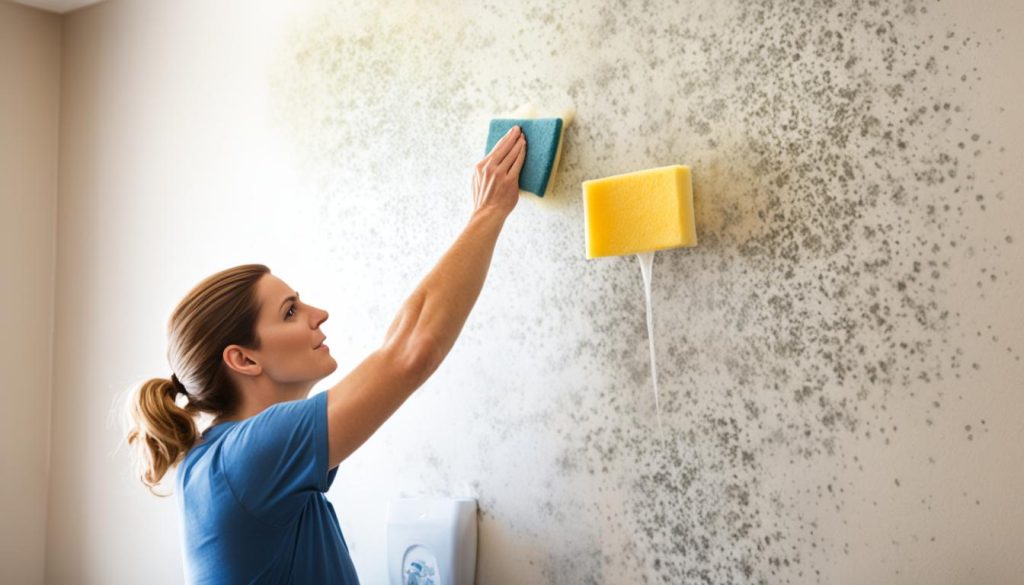
Next, mix warm, soapy water and grab a soft sponge. Gently clean the walls using a circular motion, being careful not to oversaturate the sponge. Excess water can leave behind water stains, so it’s best to avoid soaking the sponge. For stubborn stains, you can try using white vinegar or washing-up liquid. These options are generally effective at removing tough marks without damaging the paint.
It’s important to choose the right tools for the job. Always opt for soft sponges and cloths to avoid scratching the paintwork. Avoid using abrasive cleaners or scrub brushes, as they can be too harsh for emulsion walls.
When it comes to removing oil stains from emulsion walls, white vinegar is a great solution. Mix one cup of white vinegar with warm water and use a soft sponge to tackle the stains. If you have glossy finishes, you can even use heat to emulsify the oil, allowing it to be absorbed by an absorbent cloth.
If you’re looking to redecorate and want to ensure easy cleaning in the future, consider using Dulux Easycare Washable & Tough paint. This innovative paint is designed to be 20 times tougher than standard matt emulsion, so it can withstand stubborn marks without removing the paint. It also has stain repellent technology that turns liquid spills into beads, making them easier to wash away.
Cleaning emulsion walls is a simple yet important task to keep your home looking fresh and well-maintained. By following these easy tips and tricks, you can effectively clean your emulsion walls and ensure their longevity. Remember to choose the right paint for easy cleaning when redecorating and be mindful of the type of paint finish on your walls when cleaning. With proper care and maintenance, your emulsion walls will continue to enhance the beauty of your home.
How to Clean Emulsion Walls? – Step-by-Step
If you’re wondering how to clean emulsion walls effectively, follow these simple step-by-step instructions to maintain the beauty of your painted walls.
Gather Your Cleaning Supplies
Prior to cleaning your emulsion walls, gather the necessary supplies:
- A cloth-covered broom or mop
- Warm, soapy water
- A soft sponge
- White vinegar or washing-up liquid (for stubborn stains)
Step 1: Dust Off Excess Dirt
Begin by using a cloth-covered broom or mop to gently dust off any excess dirt or cobwebs from the walls. This will prevent the dirt from smearing or scratching the paint during the cleaning process.
Step 2: Prepare the Cleaning Solution
In a bucket, mix warm water with a small amount of mild soap to create a soapy solution. Avoid using harsh chemicals or abrasive cleaners as they may damage the emulsion paint.
Step 3: Clean the Walls
Dip a soft sponge into the soapy water solution and gently scrub the walls in a circular motion. Start from the top and work your way down. Avoid oversaturating the sponge to prevent water stains on the walls.
Step 4: Tackle Stubborn Stains
If you encounter stubborn stains on your emulsion walls, try using a small amount of white vinegar or washing-up liquid on a sponge. Gently scrub the stains until they fade or disappear. Rinse the sponge frequently and avoid rubbing too hard to prevent paint damage.
Step 5: Rinse and Dry
Once you’ve cleaned the walls, rinse the sponge with clean water and go over the walls again to remove any soapy residue. Finally, use a clean, soft cloth or towel to dry the walls thoroughly.
Note: Always use soft sponges and cloths when cleaning emulsion walls to avoid scratching the paintwork.
| Materials Needed | Cleaning Steps |
|---|---|
| A cloth-covered broom or mop | Dust off excess dirt |
| Warm, soapy water | Prepare the cleaning solution |
| A soft sponge | Clean the walls |
| White vinegar or washing-up liquid | Tackle stubborn stains |
| Soft cloth or towel | Rinse and dry |
By following these simple steps, you can effectively clean emulsion walls and keep them looking fresh and beautiful.
Removing Oil Stains from Emulsion Walls
If you have greasy stains on your emulsion walls, there are effective methods to remove them and restore the pristine appearance of your walls. One such solution is using white vinegar, which acts as a natural stain remover. Follow these steps to remove oil stains from your emulsion walls:
- Mix the cleaning solution: In a container, combine one cup of white vinegar with warm water.
- Apply the solution: Dip a soft sponge into the vinegar and water mixture and gently dab it onto the oil stain on the emulsion wall. Be careful not to oversaturate the sponge.
- Clean the stain: Using the sponge, lightly scrub the oil stain in a circular motion. The vinegar will help break down the grease and lift it off the wall.
- Rinse and dry: After removing the oil stain, rinse the sponge and wipe away any residue. Then, dampen a clean cloth with plain water and wipe the cleaned area to remove any vinegar residue. Finally, use a dry cloth to pat the area dry.
If the vinegar solution doesn’t fully remove the oil stain, you can also try using a mixture of warm water and washing-up liquid. Follow the same steps as above, substituting the vinegar solution with the soapy water mixture.
Alternative method for glossy finishes:
If your emulsion wall has a glossy finish, the heat can be a useful tool for removing oil stains. Here’s how to do it:
- Prepare the materials: Place an absorbent cloth or paper towel over the oil stain.
- Apply heat: Set a low-heat iron to the appropriate temperature and gently press it onto the cloth or paper towel covering the stain. The heat will emulsify the oil and aid in its absorption into the cloth or paper towel.
- Remove the cloth: Once the oil has been emulsified, remove the cloth or paper towel and discard it.
- Clean the area: Use a clean, damp cloth to wipe away any residue and then dry the area with a separate cloth.
By following these methods, you can effectively remove oil stains from your emulsion walls and keep them looking clean and fresh. Remember to always test any cleaning solution or method in a discreet area first to ensure it doesn’t cause damage or discoloration to the paint. With regular maintenance and prompt stain removal, your emulsion walls will remain beautiful and stain-free.
Choosing the Right Paint for Easy Cleaning
When it comes to cleaning emulsion painted walls, choosing the right paint can make a big difference. One option that stands out is Dulux Easycare Washable & Tough paint. This innovative paint is specifically designed to make cleaning a breeze and maintain the beautiful appearance of your walls for years to come.
What sets Dulux Easycare apart is its exceptional durability. In fact, it is 20 times tougher than standard matt emulsion paint, allowing it to withstand the everyday wear and tear of busy households. Even stubborn marks and stains can be tackled without worry, as this paint is specially formulated to resist removal during cleaning.
Dulux Easycare also features stain repellent technology, which means that liquid spills simply form beads on the surface rather than seeping into the paint. This makes it easier than ever to wipe away spills and keep your walls looking spotless. Whether it’s a splash of coffee or a splatter of sauce, you can trust that this paint will keep your walls looking fresh with minimal effort.
In addition to its practical benefits, Dulux Easycare offers a wide range of beautiful colours and finishes to suit any style or decor. Whether you prefer a soft pastel shade or a bold statement colour, you can find the perfect option to transform your space and make it easy to maintain.
Investing in Dulux Easycare Washable & Tough paint is a smart choice for anyone looking to make their emulsion painted walls easy to clean and maintain. With its remarkable durability and stain repellent technology, it provides peace of mind and long-lasting beauty for your home.
Benefits of Dulux Easycare Washable & Tough paint:
- 20 times tougher than standard matt emulsion paint
- Resists removal during cleaning
- Stain repellent technology keeps liquid spills on the surface
- Wide range of colours and finishes available
Dulux Easycare Washable & Tough paint is the perfect choice for anyone who wants to make cleaning their emulsion painted walls a breeze. With its durability, stain resistance, and beautiful range of colours, it’s a paint that not only enhances your home’s aesthetics but also makes maintenance a breeze.
Tips for Redecorating Emulsion Walls
When redecorating emulsion walls, it’s important to follow proper preparation and painting techniques to achieve a professional and long-lasting result.
Preparation:
Before you begin painting, make sure to prepare the surfaces properly:
- Remove any loose or flaking material by scraping it off using a putty knife or scraper.
- Clean the walls thoroughly, ensuring they are free from dirt, grease, and dust. Use a mild detergent and warm water to wash the walls, then rinse with clean water.
- Allow the walls to fully dry before proceeding with painting. This will ensure better adhesion and prevent the paint from peeling or blistering.
Painting:
Follow these steps for a successful painting process:
- Apply a primer coat if necessary. Priming the walls can help improve the paint’s adhesion and coverage, especially if you are painting over a darker or highly stained surface.
- Stir the paint thoroughly to ensure consistent color and coverage.
- Use a paintbrush or roller to apply the paint. Start from the top of the wall and work your way down, using smooth and even strokes.
- Apply two coats of paint, allowing each coat to dry completely before applying the next. This will ensure a more even and durable finish.
- If you’re making a significant color change, you may need more coats of paint to achieve full coverage. Consult the paint manufacturer’s instructions for guidance.
Paint Mixing:
To maintain consistent color and consistency throughout your paint job, consider mixing multiple cans of paint in a large container:
- Pour the contents of each paint can into a clean bucket or paint tray.
- Use a paint stirrer to thoroughly mix the paint, ensuring all pigments are evenly distributed.
- This will help eliminate any variations in color or texture that may occur between different cans of paint.
If you’re unsure about the amount of paint you’ll need for your project, use a paint calculator to estimate the required quantity. This will help you avoid running out of paint and ensure consistent coverage across all walls.
Cleaning Different Types of Paint Finishes
The type of paint finish on your walls will determine how you should clean them. It’s important to understand the specific cleaning requirements for each type of paint finish to avoid damaging the surface and maintain its longevity. Here’s a guide on how to clean different types of paint finishes:
1. Flat or Matte Finishes
Flat or matte finishes are common for interior walls as they provide a smooth and non-reflective appearance. However, they are less durable and require gentle cleaning to prevent any damage. To clean flat or matte finishes:
- Gently dust the walls using a soft cloth or duster.
- Prepare a solution of mild soap and warm water.
- Dampen a soft sponge or cloth with the soapy solution.
- Lightly scrub the walls using gentle circular motions.
- Rinse the sponge or cloth with clean water and wipe off any soap residue.
- Dry the walls thoroughly with a clean, lint-free cloth.
2. Satin and Semi-Gloss Finishes
Satin and semi-gloss finishes are more durable and can withstand slightly more rigorous cleaning. However, it’s still important to use gentle cleaning methods to avoid scratching or damaging the paint. To clean satin and semi-gloss finishes:
- Dust the walls using a soft cloth or duster.
- Prepare a solution of mild degreaser or soapy water.
- Dampen a soft sponge or cloth with the cleaning solution.
- Gently scrub the walls in a circular motion to remove any dirt or stains.
- Rinse the sponge or cloth with clean water and wipe off any residue.
- Dry the walls thoroughly with a clean, lint-free cloth.
3. High-Gloss Finishes
High-gloss finishes are the most durable and can withstand more abrasive cleaning methods if necessary. However, it’s still important to exercise caution and avoid using overly harsh cleaners or abrasive materials. To clean high-gloss finishes:
- Dust the walls using a soft cloth or duster.
- Prepare a solution of mild cleaner or warm soapy water.
- Dampen a soft sponge or cloth with the cleaning solution.
- Gently scrub the walls using light pressure to remove any dirt or stains.
- Rinse the sponge or cloth with clean water and wipe off any residue.
- Dry the walls thoroughly with a clean, lint-free cloth.
Remember to always test any cleaning solution on a small, inconspicuous area of the wall before applying it to the entire surface. This will help ensure that the cleaning method or solution does not cause any damage or discoloration to the paint finish.
| Paint Finish | Cleaning Method |
|---|---|
| Flat or Matte | Gentle scrubbing with mild soap and soft sponge |
| Satin and Semi-Gloss | Gentle scrubbing with mild degreaser or soapy water |
| High-Gloss | Gentle scrubbing with mild cleaner or warm soapy water |
Cleaning Tips for Wallpapered Walls
When it comes to cleaning wallpapered walls, a slightly different approach is required compared to emulsion-painted walls. By following these easy tips and tricks, you can effectively clean and maintain the beauty of your wallpapered walls.
1. Dusting
Start by dusting the walls using a microfiber cloth or a dust mop. Gently wipe the surface to remove any loose dirt and debris.
2. Gentle Cleaning
Next, prepare a solution of warm water and dish soap. Dip a sponge into the solution and gently wipe down the wallpapered walls, working in small sections. Avoid applying excessive pressure to prevent damaging the delicate wallpaper.
3. Drying
After cleaning, it’s crucial to dry the walls immediately to prevent moisture damage. Use a clean microfiber cloth to gently dry the wallpapered walls, ensuring that there is no excess moisture left behind.
Pro Tip: Be cautious while cleaning natural fiber wall coverings like grasscloth. Avoid using water on these delicate wallpapers as it can cause staining or warping. Instead, simply dust them regularly to keep them clean.
4. Spot Cleaning
If you come across stubborn stains or marks on your wallpapered walls, you can try spot cleaning them. Dampen a clean cloth with a mild detergent solution and gently dab the affected area. Avoid rubbing vigorously, as it may cause the colors to fade or the wallpaper to peel.
5. Special Considerations
If your wallpaper has specific cleaning instructions from the manufacturer, always follow those guidelines to ensure the longevity of your wallpapered walls.
By following these tips and taking proper care of your wallpapered walls, you can keep them looking fresh and vibrant for years to come.
Conclusion
Cleaning emulsion walls plays a crucial role in maintaining the fresh and well-maintained appearance of your home. By implementing these simple yet effective tips and tricks, you can ensure the longevity of your emulsion walls and keep your home looking its best.
When redecorating, it is essential to choose the right paint for easy cleaning. Consider using Dulux Easycare Washable & Tough paint, which is specifically designed to withstand stubborn marks without removing the paint. This innovative paint has stain repellent technology, making liquid spills easier to wash away and simplifying the cleaning process.
Additionally, understanding the type of paint finish on your walls is crucial when it comes to cleaning. Flat or matte finishes should be handled with a soft sponge and mild soap, while satin and semigloss finishes can withstand gentle scrubbing with a mild degreaser or soapy water. And for high-gloss finishes, a slightly more abrasive cleaner can be used if necessary.
By taking proper care and maintenance of your emulsion walls, you can ensure that they continue to enhance the beauty of your home. Remember to follow these cleaning tips, choose the right paint, and be mindful of the paint finish on your walls. With these practices in place, your emul


