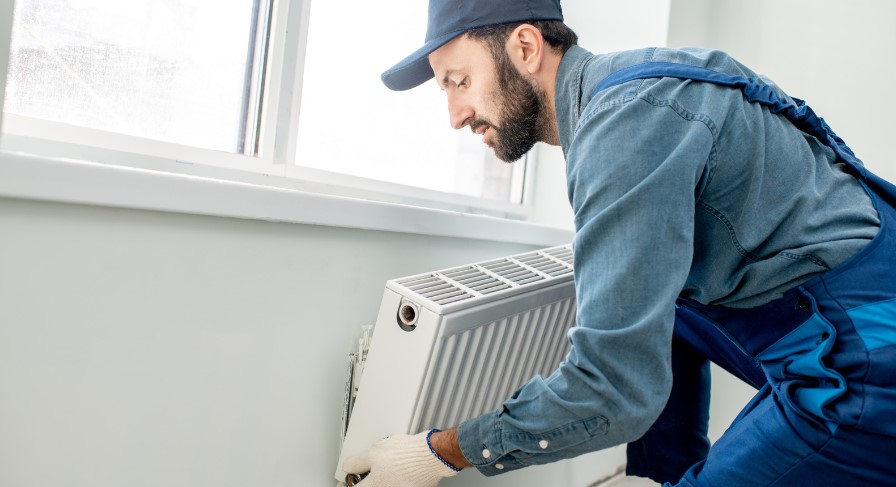
When was the last time you gave your radiator some TLC? We often overlook this essential heating system component, but keeping it clean is crucial for optimal performance and energy efficiency. A dusty radiator not only hampers heat distribution but can also lead to higher bills and potential damage. So, if you’re wondering how to clean a radiator effectively, you’ve come to the right place!
In this guide, we’ll walk you through step-by-step instructions on cleaning your radiator and provide insights into why regular maintenance is so important. Whether you’re a seasoned DIY enthusiast or prefer leaving household chores to professionals, we’ve got you covered!
How to Clean a Radiator?
Keeping your radiator clean is essential for maintaining the efficiency and effectiveness of your heating system. A clean radiator allows for better heat transfer, ensuring your home stays warm and comfortable during the colder months. Additionally, a clean radiator helps prevent dust and debris from circulating in the air, improving indoor air quality.
Regular cleaning of your radiator also helps to prolong its lifespan. Built-up dirt and dust can cause corrosion or blockages in the system, leading to potential damage or malfunctions over time. Keeping your radiator clean reduces the risk of costly repairs or replacements.
Taking care of your radiator benefits its performance and contributes to energy savings. When a radiator is clogged with dirt or dust, it must work harder to generate heat, increasing energy consumption. You can ensure optimal efficiency and lower energy bills by routinely cleaning your radiator.
Reasons for Dusty Radiators
One of the main reasons radiators tend to get dusty is that they are often located in areas that accumulate dust and debris. For example, radiators placed near windows or doors may be susceptible to collecting dust from outside. Additionally, radiators are positioned in rooms with high foot traffic or areas where pets’ sheds can become dusty quickly.
Another reason for dusty radiators is neglecting regular cleaning and maintenance. Over time, dust particles settle on the surface of the radiator fins and grilles, creating a layer of dirt that hinders their efficiency. This accumulation can restrict airflow and prevent proper heat distribution throughout your home. It’s important to keep your radiator clean for aesthetic purposes and to ensure its optimal performance.
Steps for Cleaning Your Radiator
Step 1: Turn off Your Heating
To begin the cleaning process, turning off your heating system is crucial. This step ensures you can work on your radiator safely without risk of burns or accidents. Locate your heating system’s thermostat or control panel and switch it off completely. It’s important to wait until the radiator has cooled down before proceeding with the cleaning steps.
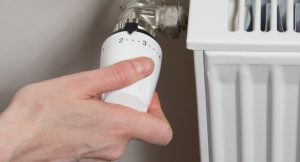
Once you have turned off the heating, allow the radiator to cool down completely. This will prevent any potential injuries from hot surfaces while working on it.
Step 2: Vacuuming the Radiator
Vacuuming is a crucial step in cleaning your radiator, as it helps remove loose debris and dust from the inside and outside. Start by using a soft brush attachment on your vacuum cleaner to gently sweep away any visible dirt on the radiator’s exterior. Make sure to reach all corners and crevices to ensure thorough cleaning.
Next, use the narrow nozzle attachment to carefully vacuum inside the radiator fins or coils. This will help eliminate any trapped dust or debris hindering proper heat circulation. Take your time and be gentle to avoid damaging delicate components. Regular vacuuming keeps your radiator clean and improves efficiency, allowing it to warm up your space effectively during colder months.
Step 3: Cleaning Inside the Radiator
To ensure your radiator is running efficiently, it’s crucial to clean the inside as well. Start by gently removing the front cover or grille of your radiator. This will give you access to the inner components that may have collected dust and debris over time.

Using a soft brush attachment on your vacuum cleaner, remove any loose dirt and cobwebs from inside the radiator. Be sure to reach all corners and crevices where particles tend to accumulate. Consider using a damp cloth or sponge with mild detergent for more stubborn grime to wipe away any residue.
Step 4: Cleaning the Outside
Now that you have tackled the inside of your radiator, it’s time to move on to cleaning the outside. Dust and dirt can accumulate on the exterior surface, hindering its efficiency. To start, use a soft cloth or brush to wipe away loose debris from the fins and grill gently.
Next, mix a mild detergent solution with warm water in a bucket. Dip your cloth into this mixture and wring out any excess liquid. Begin wiping down the entire surface of the radiator, paying special attention to areas where dust may have settled. Do not apply too much pressure or scrub vigorously, as this could cause damage.
Step 5: Cleaning Around the Radiator
Once you have cleaned the inside and outside of your radiator, it’s time to focus on cleaning around it. Over time, dust and debris can accumulate in the surrounding area, reducing the efficiency of your radiator and potentially causing damage.
Start by using a vacuum cleaner with a brush attachment to remove any loose dirt or dust from the floor or carpet around the radiator. Be sure to reach into corners and crevices where dust tends to gather.

Next, take a damp cloth or sponge and wipe down any visible surfaces, such as walls, baseboards, or nearby furniture. Pay special attention to areas directly exposed to heat from the radiator, as these tend to collect more grime. By keeping this area clean, you not only improve air quality but also help prevent potential fire hazards associated with buildup near heat sources.
Considerations when Cleaning a Radiator
When cleaning your radiator, there are a few important considerations to remember. Always ensure that the heating system is turned off before attempting any cleaning. This will prevent accidents or damage while you work on the radiator.
Additionally, it’s crucial to be mindful of the type of radiator you have. Different types may require different cleaning methods and tools. For example, avoiding using abrasive materials or harsh chemicals that could potentially damage the surface is essential if you have a cast iron radiator. Instead, opt for gentle cleaners and soft brushes specifically designed for this type of material.
Considering these considerations will help ensure that your cleaning process goes smoothly and effectively without causing any harm to your radiator or yourself. By following these guidelines, you can maintain a clean and efficient radiator system in your home.
Conclusion
Keeping your radiator clean is essential for maintaining a healthy and efficient heating system in your home. Regularly cleaning your radiator can improve its performance, extend its lifespan, and ensure it operates efficiently.
In this article, we discussed the importance of keeping your radiator clean and why radiators tend to accumulate dust over time. We have also provided you with a step-by-step guide on effectively cleaning your radiator’s inside and outside.
Remember to turn off your heating before starting the cleaning process, and use a vacuum cleaner with brush attachments to remove any loose debris from the radiator’s surface. For cleaning inside the radiator, consider using a soft cloth or brush, soapy water, or vinegar solution for stubborn dirt or grime.
By following these simple steps and considering our recommendations when cleaning your radiator, you can keep it running smoothly all year round while ensuring optimal heat distribution throughout your home.
So why wait? Take some time today to give your radiators well-deserved care and attention. Your heating system will thank you for it!

