Welcome to our blog post on how to clean a microwave! Whether you use your microwave for quick meals, reheat leftovers, or pop some popcorn for movie night, one thing is for sure – it can get pretty dirty. Food splatters and spills can quickly build up inside, affecting your microwave’s performance and creating an unsightly mess.
Cleaning your microwave regularly is essential for hygiene purposes and ensuring that it continues to work efficiently. Don’t worry; we’ve got you covered with this step-by-step guide on how to clean a microwave effectively. So, let’s roll up our sleeves and get started on bringing back the shine and freshness to your trusty kitchen appliance!
Importance of Keeping Your Microwave Clean
Keeping your microwave clean is not just about aesthetics; it’s also crucial for maintaining a healthy and safe kitchen environment. When food particles and spills accumulate inside the microwave, they can become a breeding ground for bacteria and germs, which can contaminate your meals. Regular cleaning helps prevent the growth of harmful microorganisms and ensures that your food is hygienic.
Moreover, a clean microwave performs better. The gunk and grease that build up on the interior walls can affect the heating efficiency, resulting in unevenly cooked or reheated food. By keeping your microwave clean, you’ll enjoy faster cooking times and more consistent results every time you use it.
Additionally, maintaining a clean microwave extends its lifespan. Over time, debris buildup can cause mechanical issues or even damage internal components like the turntable or heating elements. By regularly cleaning and removing any loose debris from inside the appliance, you’re helping to prolong its longevity and avoid costly repairs down the line.
Step-by-Step Guide on How to Clean a Microwave
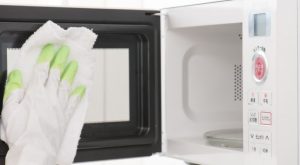
Cleaning your microwave regularly is essential for maintaining its performance and longevity. By following a simple step-by-step guide, you can easily keep your microwave spotless and hygienic.
Step 1: Prepare the Cleaning Solution
Maintaining a clean and well-maintained microwave oven is crucial for keeping your kitchen safe and hygienic. By following the step-by-step guide on how to clean a microwave, you can easily remove grime, stains, and odours that accumulate over time.
Remember to start by preparing a simple cleaning solution using vinegar or lemon juice mixed with water. This natural solution is effective in cutting through grease and food residue without the need for harsh chemicals.
Step 2: Remove Loose Debris and Food Particles From Inside the Microwave
Now that you’ve prepared the cleaning solution, it’s time to tackle the inside of your microwave. This step is crucial in ensuring thorough cleaning and preventing any lingering odours or bacteria from building up.
First, unplug the microwave for safety purposes. Then, open the microwave oven door and inspect the interior. You might find loose debris like crumbs or food particles scattered around. Use a damp cloth or sponge to wipe away these loose items. Don’t forget to pay attention to hard-to-reach corners and crevices.
Next, take out the turntable tray if your microwave has one. Wash it separately with warm, soapy water, making sure to scrub off any stubborn stains or residue. Now, focus on removing any grease or grime from the walls and ceiling of the microwave using your chosen cleaning solution.
Remember to be gentle yet thorough while wiping down all surfaces inside the microwave. Take extra care when dealing with tough stains; you may need a bit more elbow grease! Once you’re satisfied with removing all debris and dirt from the inside, move on to Step 3 for further cleaning instructions!
Step 3: Wipe Down the Interior With the Cleaning Solution
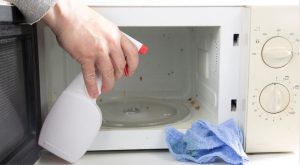
Now that you’ve removed the loose debris and food particles from inside your microwave, it’s time to tackle the interior. This step is crucial for getting rid of any lingering stains or odours.
To begin, grab a clean microfibre cloth or sponge and dip it into the cleaning solution you prepared earlier. Make sure to wring out any excess liquid before wiping down the interior surfaces of your microwave. Start from the top and work your way down, paying extra attention to areas with stubborn stains.
Remember to be gentle when scrubbing, as harsh motions can potentially damage the delicate surface of your microwave. Take your time and thoroughly wipe all sides, including the walls, ceiling, bottom, and door.
Once you’re done wiping down every nook and cranny of your microwave’s interior with the cleaning solution, take a dry cloth or paper towel to remove any leftover moisture. This will help prevent water spots from forming as well as ensure that everything is nice and dry for future use.
Step 4: Soak Removable Parts in Hot Soapy Water
To effectively clean your microwave, don’t forget to give some TLC to the removable parts! Step 4 involves soaking these pieces in hot soapy water. This simple yet crucial step helps remove stubborn stains and grime that may have accumulated over time.
Start by carefully removing the turntable, roller ring, and other detachable components inside the microwave. Place them in a sink or basin filled with hot water and a few drops of dish soap. Allow them to soak for at least 15-20 minutes.
While the parts are soaking, take this opportunity to wipe down the interior of your microwave using the cleaning solution prepared earlier. Pay special attention to any greasy spots or splatters on the walls and ceiling of the microwave. A damp cloth or sponge will do wonders in lifting away dirt and residue.
Once you’ve thoroughly cleaned your microwave’s interior and exterior, check if it’s been about 15-20 minutes since you started soaking the removable parts. At this point, use a gentle scrub brush or sponge to clean each piece individually before rinsing off any remaining soap residue under running water.
Step 5: Clean the Exterior of the Microwave

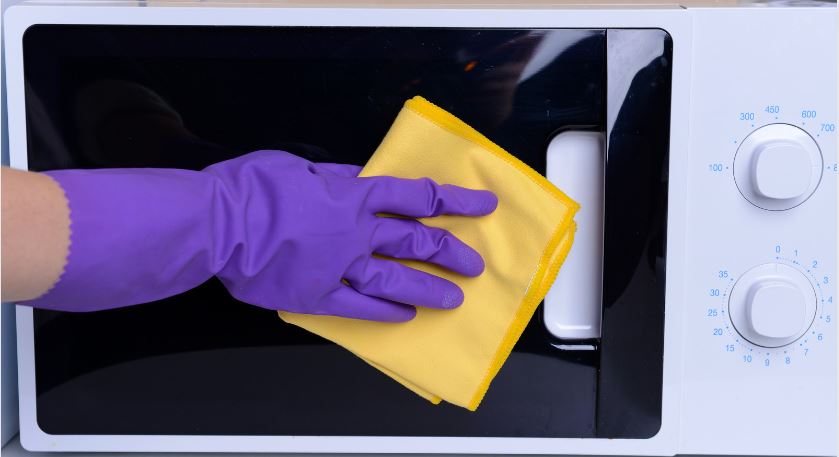
When it comes to cleaning your microwave, don’t forget about the exterior! While the interior may be where most of the mess happens, keeping the outside clean is just as important. After all, a sparkling exterior will make your microwave look better and prevent any dirt or grime from spreading to other surfaces in your kitchen.
To clean the exterior of your microwave:
- Mix a solution of warm water and mild dish soap
- Dip a sponge or cloth into the soapy water and gently wipe down the outside surface
- Pay attention to areas that are more prone to fingerprints or splatters, such as around the buttons or handles
You can use a mixture of vinegar and water for stubborn stains or grease marks. Simply spray this solution onto a cloth and scrub away any tough spots on the exterior. Remember to avoid using abrasive cleaners or scouring pads that could damage the finish of your microwave.
Once you’ve wiped down all sides of your microwave and removed any residue, give it one final wipe with a clean, damp cloth to remove any soapy residue. Then, dry it thoroughly with a soft towel before plugging it back in. Your microwave will now be fresh and ready for its next culinary adventure!
Step 6: Let Everything Dry and Put It Back Together
Once you’ve finished cleaning the interior and exterior of your microwave, it’s time to let everything dry and put it back together. This step is crucial to ensure that your appliance functions properly and remains in good condition.
Leave the microwave door open for a while to allow any excess moisture to evaporate. This will prevent mould or mildew from forming inside. You can also use a clean cloth or paper towel to wipe away any remaining moisture.
Next, carefully reassemble all the removable parts that were soaked in hot, soapy water earlier. Make sure they are completely dry before placing them back into the microwave.
Give one final wipe down to the exterior of your microwave using a clean, damp cloth. Pay attention to any buttons or controls on the front panel as well. Once everything is dry and back in place, you’re ready to start using your freshly cleaned microwave again!
Tips for Maintaining a Clean Microwave
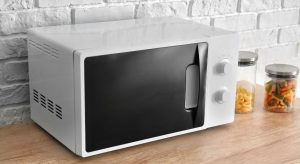
- Regularly wipe down the interior: After each use, take a damp cloth or sponge and quickly wipe down the inside of your microwave. This will help prevent food splatters from hardening and becoming more difficult to clean later on.
- Cover dishes when heating: To minimise messes in your microwave, always cover them with a microwave-safe lid or plastic wrap before heating them. This will help trap steam and prevent it from escaping onto the walls of the microwave.
- Clean spills immediately: Accidents happen, but it’s important to clean up any spills as soon as they occur. The longer you wait, the harder it becomes to remove stubborn stains and odours from your microwave.
Remember, maintaining a clean microwave ensures hygienic cooking conditions and helps extend its lifespan. By following these simple tips, you can keep your appliance looking fresh and functioning efficiently for years to come!
Conclusion
Keeping your microwave clean is important for hygiene purposes, maintaining its performance, and extending its lifespan. By following the step-by-step guide on how to clean a microwave, you can easily remove dirt, stains, and food residue from both the interior and exterior of your appliance.
Regular cleaning will prevent foul odours, bacteria growth, and potential fire hazards caused by built-up grease or food particles. It will also ensure that your microwave continues to heat food evenly and efficiently.
By incorporating these simple steps into your kitchen cleaning routine, you can enjoy using a sparkling-clean microwave every day! So go ahead and give your trusty appliance some TLC – it deserves it!

